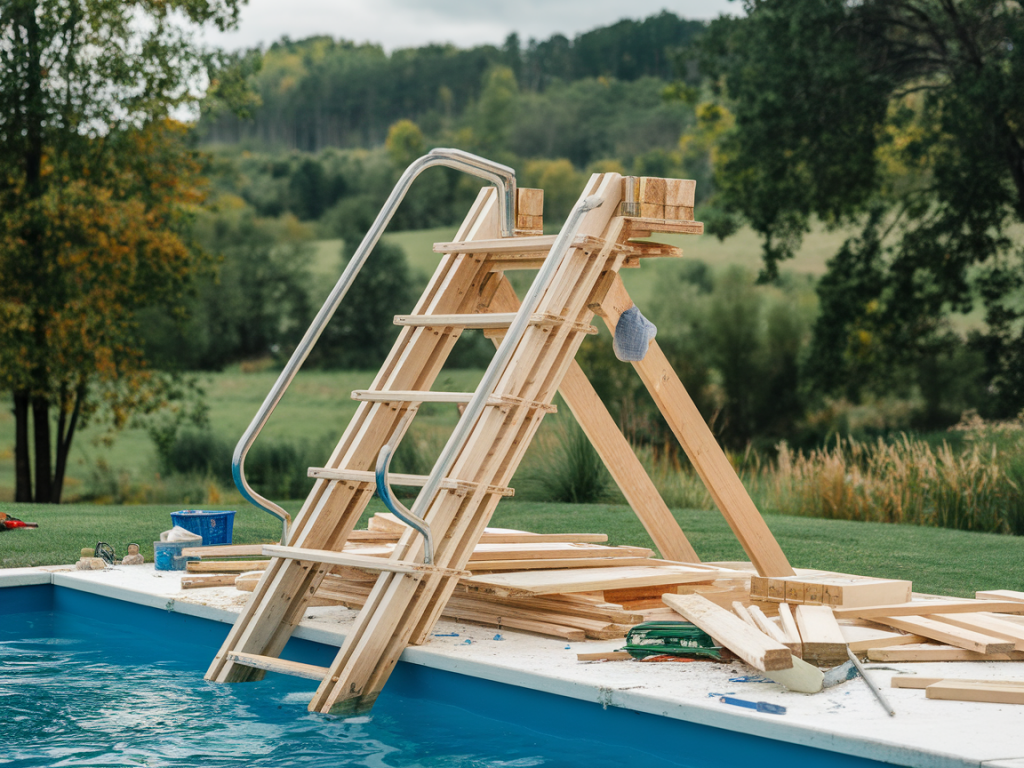
I’ve always believed that practical projects teach more than instructions ever could. When I decided to construire soi-même un accès bois pour piscine, it wasn’t just about saving money — it was about designing an access that fits my garden, matches the aesthetic of the house, and meets safety expectations. Below I share a detailed, practical, and candid guide that walks you through the planning, materials, construction, safety, and maintenance of a wooden access (steps, decking, or small platform) for an above-ground or partially in-ground pool.
Why build your own wooden pool access?
DIY wooden pool access is a popular option for homeowners. Here are the main reasons I chose to do it myself:
Planning: measurements, codes, and safety considerations
Before I cut a single board, I planned carefully. Here’s what to consider:
Materials: wood choices and protective treatments
Choosing the right wood and treatment is critical for longevity in a wet, chlorine-rich environment. Here’s what I weighed:
Tools and consumables
Here’s the kit I used — nothing exotic but quality mattered:
Step-by-step build process
Below I outline how I assembled a typical wooden stair + platform for a 1.2 m high pool. Adapt dimensions proportionally for your pool height.
Foundation and framing
1) Set out and dig: I marked the footprint and dug postholes for support posts to at least 600 mm depth (frost and local regs dependent). For small decks, concrete pads below ground level or adjustable deck supports work well.
2) Install posts: Plumb and fix posts into concrete or adjustable feet; allow concrete to cure per manufacturer instructions (usually 24–48 hours).
3) Frame the base: Use treated joists (e.g., 48x148 mm) spaced 400–600 mm on center depending on decking choice. I used 48x148 mm joists at 400 mm spacing for a sturdy feel.
Steps and treads
4) Calculate rise/run: I used a 150 mm riser and 280 mm tread for comfortable ascent. Cut stringers from 48x198 mm boards or use pre-cut metal stringers for extruded profiles.
5) Attach treads: I fixed 28 mm thick decking boards with stainless steel screw and countersunk each screw. For better grip I left 5–8 mm gaps between boards to allow drainage.
6) Railings: For safety, I built a simple handrail at 900 mm height with intermediate balusters at 100–150 mm spacing (to prevent small children slipping through).
Platform and integration with pool rim
7) Platform design: I made the platform flush with the pool rim using a 600 x 900 mm landing with guard rail on exposed sides. Ensure the platform is at a suitable level to step onto the pool ladder without awkward movement.
8) Lateral supports: Use ledger boards and diagonal bracing to prevent racking. I fastened ledger boards to the pool surround using non-penetrating brackets to protect the pool liner.
Anti-slip and finishing touches
9) Add anti-slip: I applied anti-slip paint on the treads’ leading edges and installed slip-resistant strips in high-traffic areas.
10) Seal and oil: I treated all cut ends with end-grain sealer, then applied two coats of penetration oil across the deck and steps. Expect annual maintenance in exposed climates.
Costs and time estimates
Budget and duration will vary by size and materials. For my 2.5 m x 1.2 m access (6–8 steps + small platform):
| Item | Estimate (EUR) | Notes |
|---|---|---|
| Pressure-treated timber | 250–450 | Depends on species and thickness |
| Stainless hardware | 80–150 | Screws, bolts, brackets |
| Finishes & anti-slip | 50–120 | Oils, strips, sealers |
| Concrete & posts | 40–100 | Mix, formwork |
| Total (typical DIY) | 420–820 | Labour excluded |
Time: A competent DIYer can complete a basic build in 2–3 weekends (approx. 20–40 hours). Complex designs or hardwoods add time.
Common problems and how I solved them
Maintenance schedule I follow
Comparative table: Material pros and cons
| Material | Pros | Cons |
|---|---|---|
| Pressure-treated pine | Affordable, easy to work | Shorter lifespan than hardwood, needs maintenance |
| Hardwood (i.e., ipe) | Very durable, attractive | Expensive, requires power tools for installation |
| Composite | Low maintenance, rot-proof | Can be hot in sun, variable grip |
Statistics and evidence
To put things in perspective:
Useful external resources
FAQ
Is building your own pool access safe for children? Yes, if you follow standards: install handrails, limit baluster spacing to under 100–150 mm, use anti-slip treads, and supervise young children. Check local safety norms.
How long should a DIY wooden access last? With pressure-treated timber and proper maintenance expect 10–20 years. Hardwoods can last 25+ years. Composites vary by manufacturer warranties (typically 10–25 years).
Do I need planning permission? Often small deckings and steps don’t require planning permission, but local regulations can vary; always confirm with your local planning authority.